
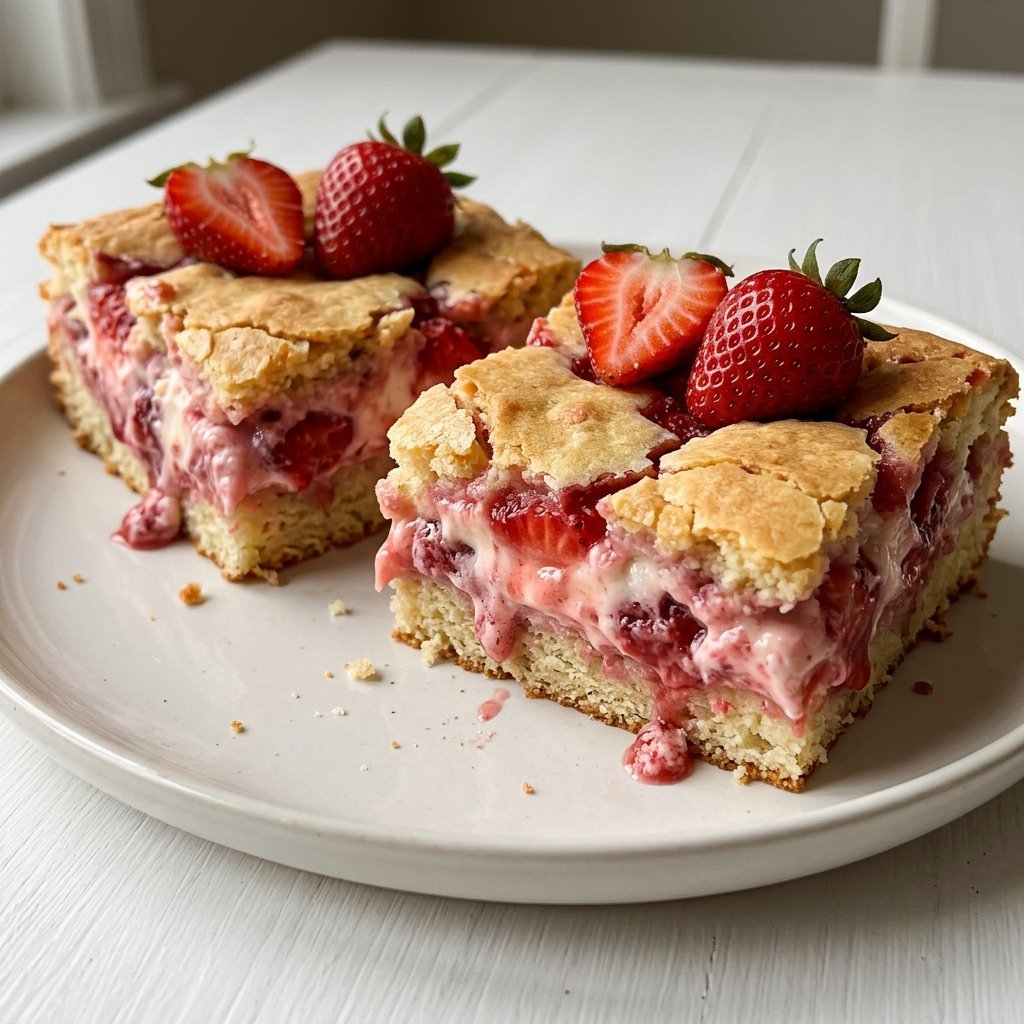
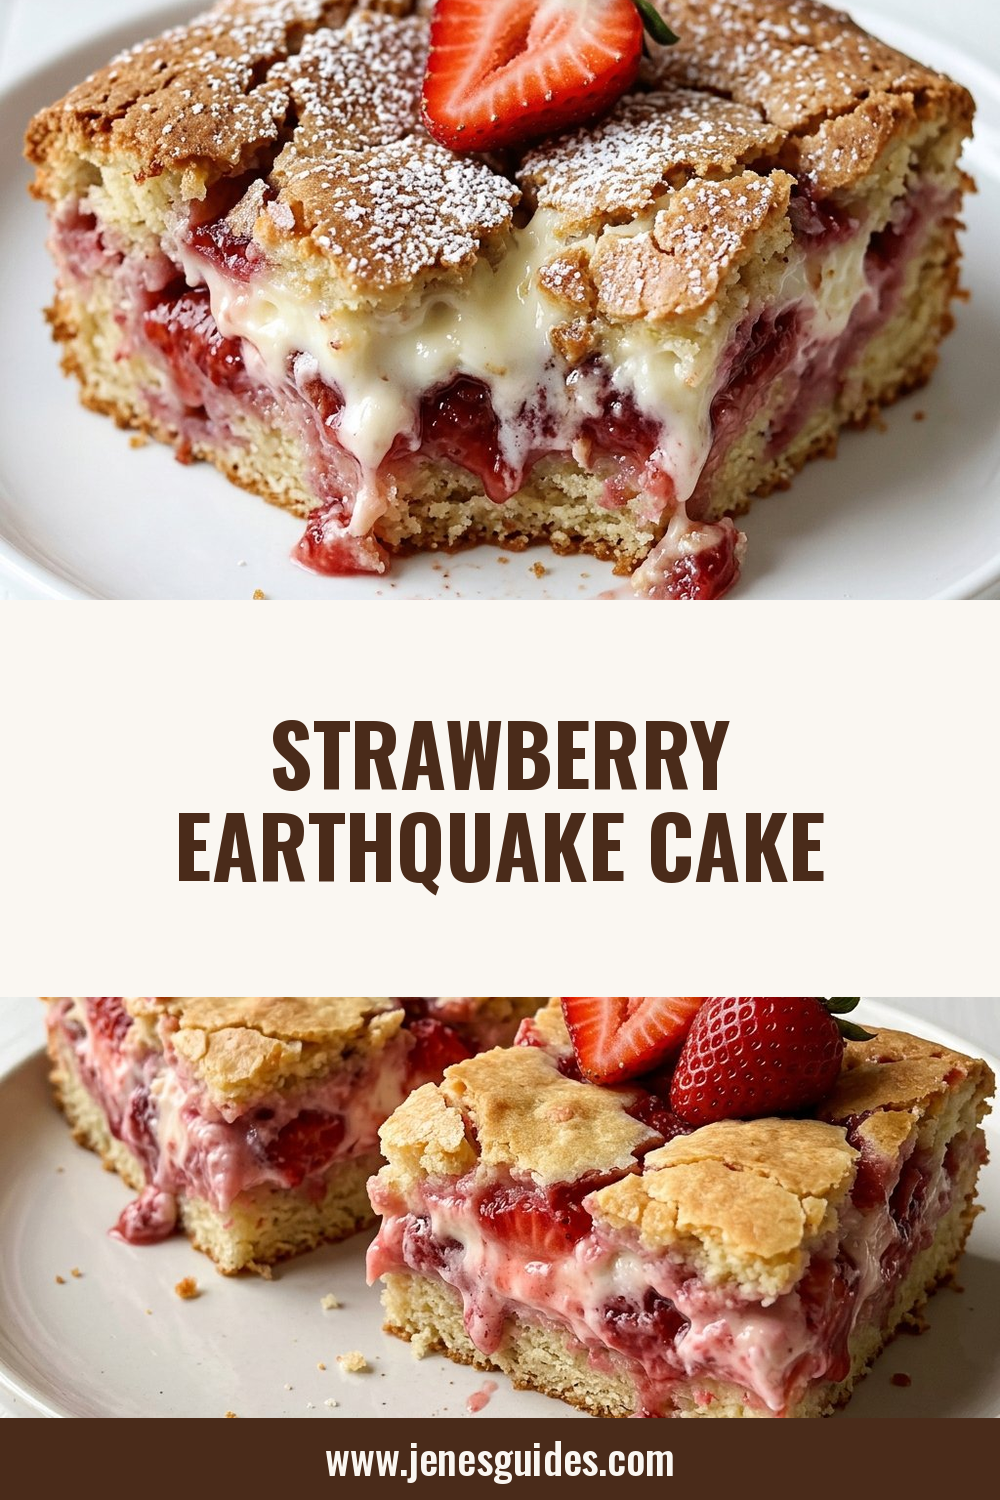
Strawberry earthquake cake combines a rich chocolate cake base with pockets of sweet strawberry cream cheese filling, chocolate chips, and optional nuts.
As it bakes, the filling shifts through the batter and leaves the cracked, uneven ribbons that give the dessert its name.
Keep the chocolate cake base as written so the berries stand out against the dark crumb and the finished dessert keeps its intended contrast. Its uneven top is part of the charm at family gatherings.
It is an easy 9×13-inch dessert for potlucks, family gatherings, and chocolate cravings because the cake starts with a mix and the strawberry filling takes only a few minutes to stir together.
Cool it completely before slicing so the gooey center has time to settle.
How Long You Will Spend Making This!
- Total time: About 2 hours, including cooling
- Prep time: 20 minutes
- Cook time: 40 to 45 minutes
- Estimated yield: 12 generous squares or up to 16 smaller portions
- Difficulty level: Easy
Ingredient List & Quantities
For the chocolate cake
- 1 box chocolate cake mix
- 1 cup water
- 1/2 cup vegetable oil
- 3 large eggs
The chocolate mix provides the structured cake base, while water hydrates the mix, oil keeps it tender, and eggs help it set.
Use the box size recommended for a standard 9×13-inch cake; a different package may require different liquid amounts.
A gluten-free chocolate mix can work if all other ingredients are compatible. Do not replace the oil with extra water, or the cake will be dry and less tender.
For the strawberry cream cheese filling
- 8 ounces cream cheese, softened
- 1/2 cup powdered sugar
- 1 teaspoon vanilla extract
- 1 cup fresh strawberries, hulled and chopped
Cream cheese creates the rich pockets, powdered sugar sweetens without grit, and vanilla rounds out the fruit. Fresh strawberries provide the bright flavor and color.
Pat them dry after chopping so their juice does not loosen the filling. Frozen berries can be used only after thawing and draining very well. The cream cheese can be reduced-fat, but the filling may be softer.
For the topping
- 1 cup semi-sweet or dark chocolate chips
- 1/2 cup chopped nuts, optional
- Additional fresh strawberries, for garnish
Chocolate chips melt into small pockets across the surface. Semi-sweet chocolate balances the sweet filling, while dark chocolate gives a less sugary finish.
Pecans or walnuts are good choices, but omit nuts for a nut-free cake. Add fresh strawberries after cooling rather than before baking; raw garnish can release water and discolor the top.
Equipment You’ll Need
- 9×13-inch baking dish; glass, ceramic, or metal can work
- Two mixing bowls and an electric mixer or sturdy whisk
- Spatula and butter knife for spreading and swirling
- Cooling rack and sharp knife
A light-colored pan makes it easier to watch the edges, while a dark metal pan may brown faster. Grease the dish thoroughly so the soft filling does not cling. Keep a clean knife for slicing once the cake has cooled.
Step-by-Step Instructions
Step One: Heat the oven and prepare the dish
Heat the oven to 350°F and grease a 9×13-inch baking dish. If you want easier cleanup, line the bottom with parchment and grease the paper.
The pan should be ready before mixing because the cake batter should go into the oven soon after it is combined. A prepared pan also prevents the cream cheese filling from sitting while the cake mixture thickens.
Step Two: Mix the chocolate cake batter
Combine the chocolate cake mix, water, oil, and eggs in a large bowl. Mix just until the dry streaks disappear and the batter looks smooth.
Scrape the bottom once to catch pockets of mix, then stop. Overmixing develops a denser texture and can make the finished cake less tender. The batter should be pourable but thick enough to hold the filling on the surface.
Step Three: Make the strawberry filling
Beat the softened cream cheese, powdered sugar, and vanilla in a separate bowl until smooth. Fold in the chopped strawberries gently.
The filling should be thick enough to sit in spoonfuls rather than run like sauce. If the berries look wet, pat them dry before adding them. Keeping the fruit pieces intact gives the finished pockets a more noticeable strawberry flavor.
Step Four: Layer and swirl the cake
Pour the chocolate batter into the prepared dish and spread it level. Drop spoonfuls of strawberry filling over the surface, leaving small gaps between them.
Use a butter knife to make a few loose swirls through the batter. Do not stir until uniform; the filling must remain in visible ribbons and pockets to create the earthquake effect.
Too much swirling makes the cake muddy and can pull the filling to one side.
Step Five: Add the chocolate and nuts
Scatter the chocolate chips evenly over the top and add the chopped nuts if using. Press nothing deeply into the batter. The chips should remain mostly on the surface so they melt into a topping, while the cream cheese pockets can shift naturally as the cake bakes.
Step Six: Bake and cool completely
Bake for 40 to 45 minutes, checking at 40 minutes. The edges should be puffed and set, and a toothpick inserted into a cake-only area should show a few moist crumbs.
Do not test through a cream cheese pocket, which will remain soft. Cool the cake in the pan for at least 1 hour. For firmer slices, refrigerate it for another 30 minutes, then garnish with fresh strawberries.
Serving Size & Batch Scaling
Plan on about 12 generous squares from one 9×13-inch pan, or 16 smaller portions for a party. The exact yield depends on how much filling each slice receives and whether you serve the cake with ice cream. The soft center makes smaller pieces easier to lift and less messy.
Making More or Less?
- 2 servings: Make about one-sixth of the recipe in a small loaf pan, but begin checking at 25 to 30 minutes because the depth changes.
- 4 servings: Make about one-third of the recipe in an 8×8-inch dish and check early.
- 8 servings: Use about two-thirds of the recipe in an 8×8-inch dish, keeping the batter depth similar to the original.
- 12 servings: Make the original recipe in a 9×13-inch dish. For 24 servings, double the ingredients and use two 9×13-inch dishes, not one deep pan.
The oven temperature stays at 350°F, but smaller pans bake faster and deeper pans bake unevenly.
For larger batches, mix each cake box separately if your bowl is not large enough and divide the cream cheese mixture evenly.
Add strawberries and nuts gradually so the filling does not become watery or overly dense.
Nutrition Estimate Per Serving
Estimated per square, based on 12 servings: 410 calories, 5 g protein, 54 g carbohydrates, 18 g fat, 2 g fiber, 37 g sugar, and 430 mg sodium.
This is an estimate based on typical cake mix, cream cheese, chocolate chips, and optional nuts, not medically precise information. Omitting nuts lowers fat slightly; the exact mix brand changes the numbers.
Common Mistakes to Avoid
- Using wet strawberries: Excess juice loosens the filling. Pat the chopped berries dry.
- Overmixing cake batter: Mix only until smooth to keep the base tender.
- Swirling too much: A few passes create pockets. Overmixing removes the earthquake pattern.
- Testing through cream cheese: Use a cake-only area for the toothpick test.
- Slicing hot: The filling needs cooling time to become gooey rather than runny.
Troubleshooting Guide
The center is soft is the cake done? The cream cheese pockets are meant to remain soft. Check a cake-only area for moist crumbs, then cool completely. If the cake portion is wet, bake for another 5 to 10 minutes and check again.
The cake is dry what happened? It may have baked too long, the pan may have been too small, or the batter was overmixed. Check at 40 minutes and remove it when the cake-only areas are set with a few moist crumbs.
The filling sank can I prevent it? Some movement is the point of an earthquake cake. Drop filling in several areas and swirl lightly; a very loose filling will sink more dramatically, so drain wet berries and use softened rather than warm cream cheese.
The cake sticks to the pan what can I do? Run a thin knife around the edge and lift pieces with a small spatula. Next time, grease the dish well and use parchment on the bottom.
Variations & Customizations
- Less-sweet version: Use dark chocolate chips and serve without ice cream. The chocolate base and berries still provide plenty of flavor.
- Nut-free version: Omit the nuts and check cake mix and chocolate labels for cross-contact information.
- Extra strawberry version: Add fresh berries on top after cooling, or serve them alongside rather than adding more wet fruit to the batter.
- Family-friendly version: Use semi-sweet chips, omit nuts, and cut smaller squares for children.
- Gluten-free version: Use a gluten-free chocolate cake mix and verify every packaged ingredient label.
What to Serve With It
For a quick dessert, serve a square with coffee or cold milk. For a family meal, add vanilla ice cream or whipped cream and fresh strawberries.
For guests, cut small pieces and garnish each with a berry just before serving. For a lighter, more balanced plate, serve a small square with plain berries and unsweetened yogurt rather than adding both ice cream and sauce.
Meal Prep & Make-Ahead Instructions
Yes, the cake can be made ahead. Bake it up to 1 day before serving, cool it completely, cover the dish, and refrigerate. Add fresh strawberry garnish just before serving.
You can mix the dry cake ingredients and prepare the filling a few hours ahead, but keep the chopped strawberries in the refrigerator and fold them into the cream cheese mixture shortly before layering so the filling does not become watery.
Storage & Leftovers
Refrigeration: Cover the cake and refrigerate for up to 4 days because of the cream cheese filling.
Freezing: Freeze un-garnished individual squares tightly wrapped for up to 1 month. Thaw overnight in the refrigerator; the cake will be slightly softer.
Leftover ideas: Warm a square gently and serve it with ice cream, crumble it into a parfait with yogurt, or layer small pieces with fresh strawberries.
Reheating Instructions
Microwave: Warm one square for 10 to 15 seconds if you want a softer, more molten center.
Oven: Cover a larger portion loosely with foil and warm at 300°F for 10 to 15 minutes.
Best texture: For clean slices, eat it chilled or cool. Do not heat the fresh strawberry garnish; add it after reheating. A small scoop of ice cream supplies moisture if the cake has firmed in the refrigerator.
Frequently Asked Questions
Why is it called earthquake cake? The soft cream cheese filling moves through the chocolate batter as it bakes, leaving cracks and uneven ribbons across the cake.
Can I use frozen strawberries? Yes, but thaw and drain them very well, then pat them dry. Extra water can make the filling loose.
Can I use a strawberry cake mix? This version is built around a chocolate cake mix. A strawberry mix changes the recipe identity, flavor, and color, so use it only if you want a different cake.
How do I know when it is done? Check a cake-only area with a toothpick. It should show moist crumbs, while the cream cheese pockets can remain soft.
Conclusion
Strawberry earthquake cake is easy to assemble but still gives you the rich contrast of chocolate, berries, cream cheese, and melted chocolate.
Keep the strawberry filling thick, swirl lightly, and judge doneness from the cake rather than the cream cheese pockets. After a full cool, each square has the gooey, cracked character that makes this pan dessert so appealing.