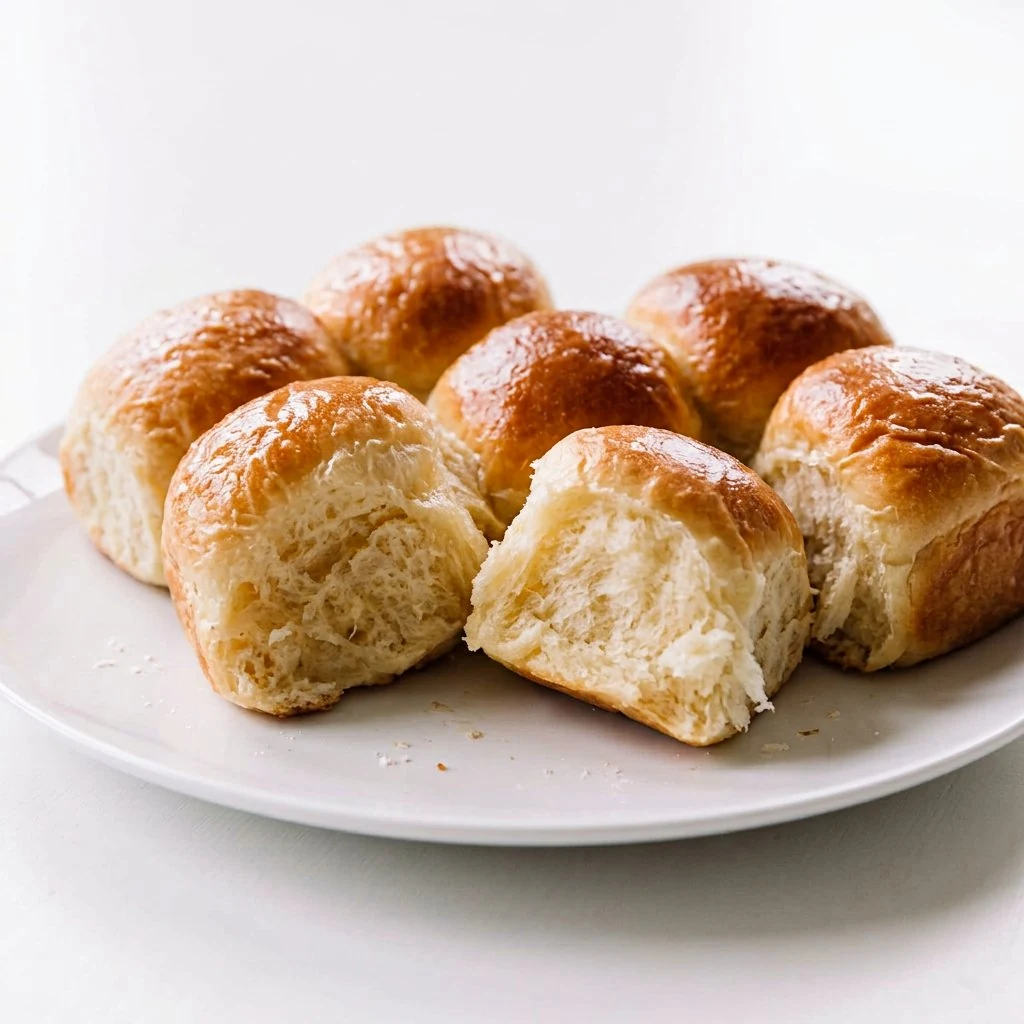
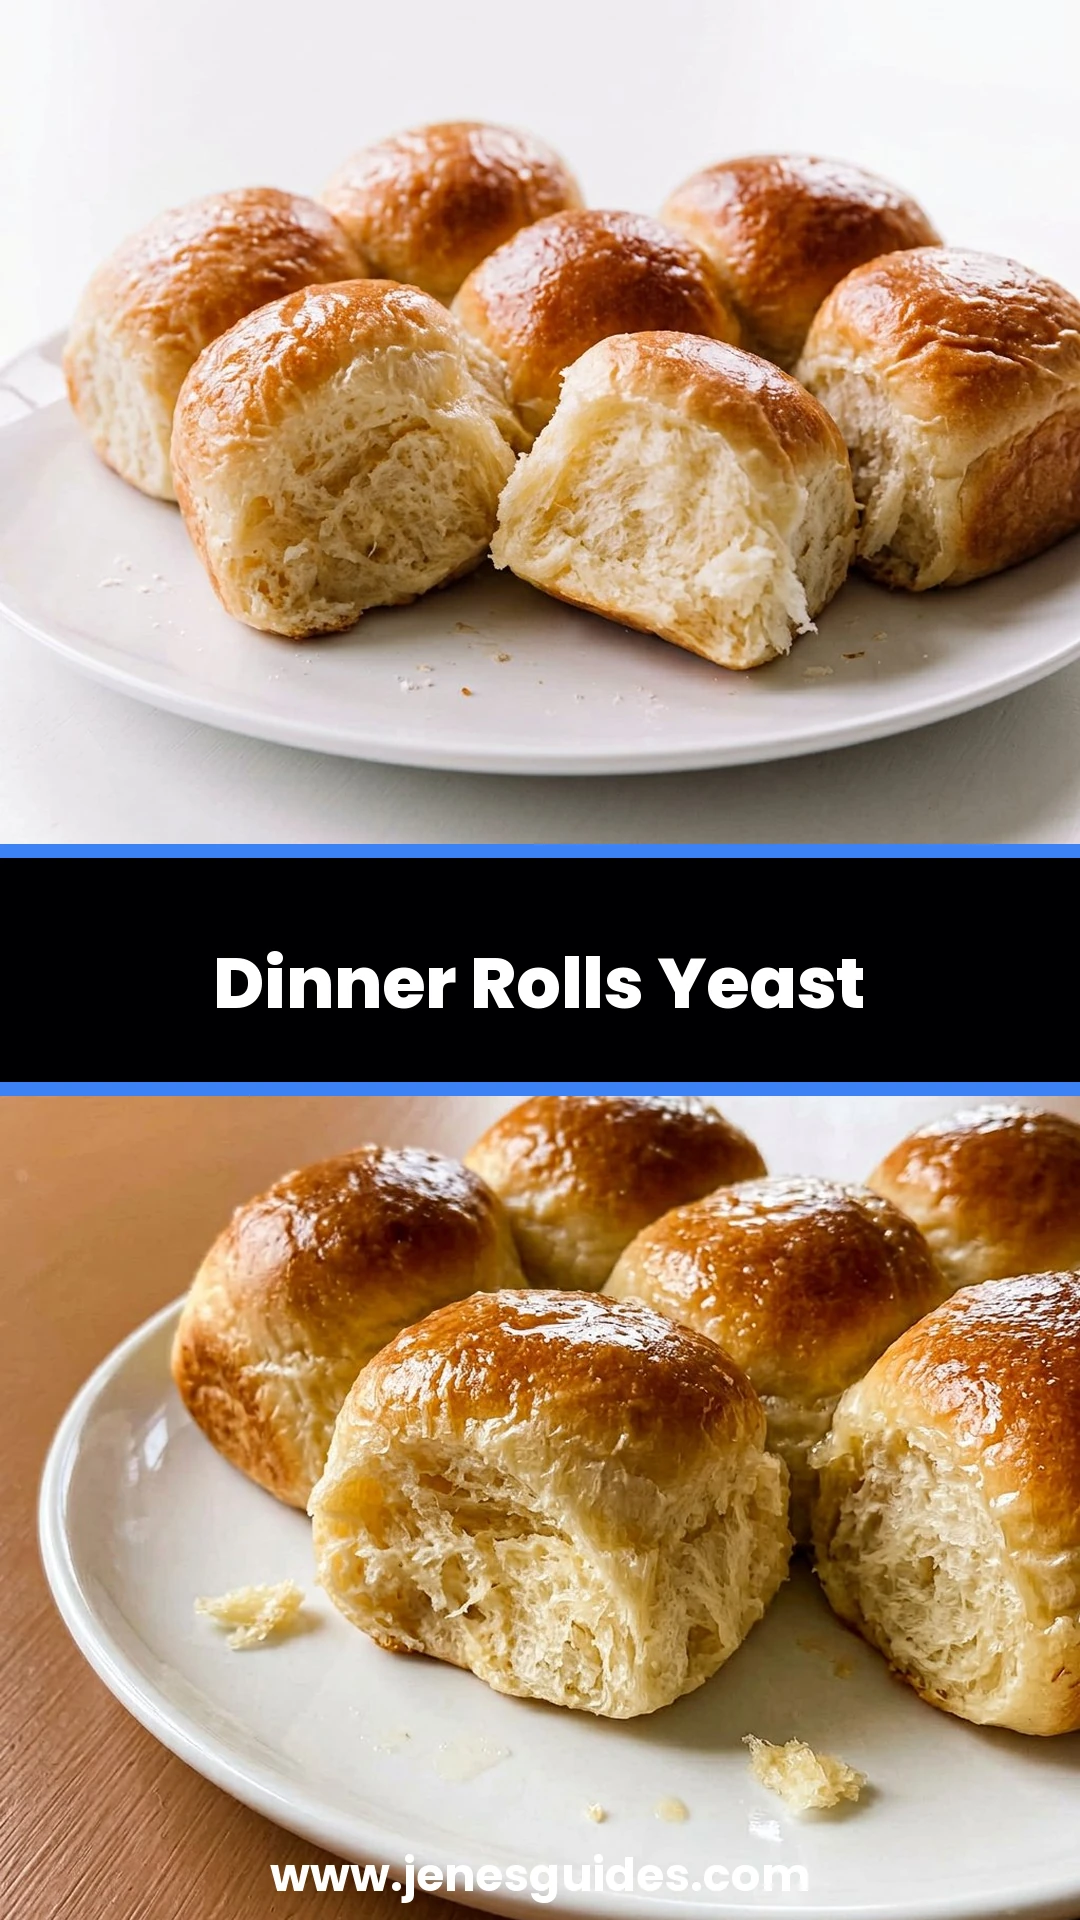
Dinner rolls yeast style are the soft, buttery, cloud textured rolls that make any dinner feel like an occasion.
You bloom the yeast in warm milk, knead a simple dough, let it rise until puffy, shape the rolls, and bake them until golden before brushing the tops with a final shine of melted butter.
You need this recipe if store bought rolls have been quietly embarrassing your dinner table, if your soup nights deserve something to dunk, or if you want your house to smell so good that neighbors invent reasons to visit.
Recipe at a Glance
| Prep time | 20 minutes plus rises |
| Cook time | 15 to 18 minutes |
| Total time | About 2 hours 15 minutes |
| Cooking method | Oven baked yeast dough with two rises and a butter brush finish |
| Servings | 12 to 15 rolls |
| Main ingredients | Warm milk, yeast, sugar, butter, egg, flour, salt |
| Skill level | Easy to intermediate |
Ingredients You’ll Need
- 1 cup warm milk
- 2 tbsp yeast
- 1/3 cup sugar
- 1/3 cup butter melted
- 1 egg
- 1 tsp salt
- 3.5 cups all-purpose flour
- butter for brushing
Ingredient Notes & Easy Substitutions
Your milk should be warm, around 105 to 110 degrees, hot to the finger but never scalding, because milk over 120 degrees murders yeast on contact. Two tablespoons of yeast is a generous amount, which is what makes these rolls rise with confidence even in a cool kitchen.
Your sugar feeds the yeast and sweetens the crumb, and the melted butter in the dough is what makes these rolls tender instead of chewy. The bakers at Gimme Some Oven build their one hour rolls on the same butter and brush principle, and that final butter coat is doing real structural work on your crust.
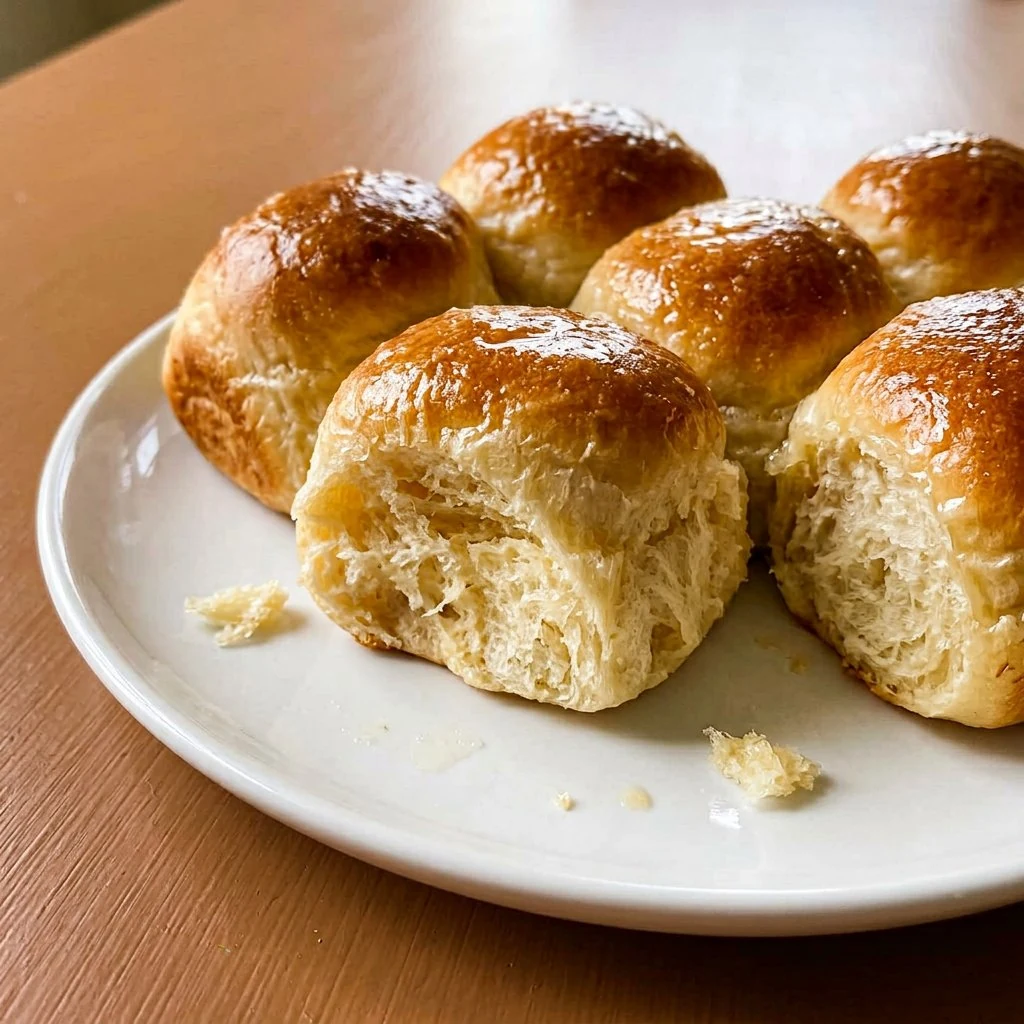
Your flour is all-purpose and you may need a spoonful more or less depending on the day; the dough should clean the bowl sides but still feel soft. The old school approach at Just a Pinch kneads by hand on a floured surface, and five minutes of that work builds the gluten structure your tall, squishy rolls need.
Equipment You’ll Need
You need a large mixing bowl, a 9×13 baking dish or two round cake pans, a thermometer if you have one, a wooden spoon, a clean surface for kneading, and a pastry brush for the butter finish. A kitchen towel covers the dough during both rises.
A stand mixer with a dough hook handles the kneading in about five minutes if hand work is not your mood today. Either way, the dough is forgiving, and the rolls care far more about warm milk and patient rises than about your equipment pedigree.
How to Make Dinner Rolls Yeast
Step One: Wake the Yeast
Dissolve the yeast in the warm milk in your large bowl and give it a couple of minutes to get foamy. If nothing happens and the surface stays flat, your yeast is dead or your milk was too hot, and it is far kinder to restart now than to discover it after two rises.
Step Two: The Wet Mix
Add the sugar, melted butter, egg, and salt to the yeasty milk and stir until combined. The sugar dissolves into the warm liquid, the butter swirls in, and your base mixture smells faintly like the inside of a bakery before any flour has even arrived.
Step Three: Flour and Knead
Add the flour one cup at a time, stirring after each, then knead until the dough is smooth and springy, about five to eight minutes by hand. It should feel like a soft earlobe with a slight tack; dust with flour only when it truly sticks, because too much flour makes dense rolls.
Step Four: The First Rise
Let the dough rise, covered, for 1 hour in a warm spot, until doubled. Punch it down and shape into twelve to fifteen equal rolls, pinching the bottoms tight and setting them snug in your greased pan where they will support each other as they grow.
Step Five: The Second Rise
Let the shaped rolls rise 30 minutes, covered, until visibly puffy and touching their neighbors. This short rise is what makes pull apart rolls, and the gentle proof means they bake tall instead of dense; patience here is the whole difference between good and bakery level.
Step Six: Bake and Butter
Bake at 375F for 15 to 18 minutes until the tops are deep golden, then brush generously with butter the moment they leave the oven. The butter sizzles into the crust and leaves a soft shine, and the rolls should cool just long enough to handle before your basket gets raided.
Serving Size & Batch Scaling
One batch makes twelve to fifteen rolls, which covers a family dinner with likely leftovers for breakfast. Count on two rolls per hearty eater, because warm bread with butter has never once survived a dinner table at one roll per person.
Doubling works cleanly: mix in your largest bowl or two separate bowls, and bake in two 9×13 pans on separate racks, swapping halfway. Rise times stay identical, and your freezer section gains a stash of future dinners with zero extra effort per roll.
Making More or Less?
For a small household, halve everything and shape six rolls in an 8×8 dish; the rise times shrink by about ten minutes each since smaller dough warms faster. Your small batch still gets the full bakery treatment and the butter brush.
If you want more rolls but not more same day work, bake the full batch and freeze half after they cool. Frozen homemade rolls reheat like fresh, which means you get two dinners out of one floury afternoon and future you sends thank you notes.
Nutrition Estimate Per Serving
- Calories: about 195 per roll
- Protein: 5 g
- Carbohydrates: 29 g
- Fat: 7 g
- Fiber: 1 g
- Sugar: 6 g
- Sodium: about 210 mg
The following is an estimated nutritional breakdown based on standard ingredient data, offered as friendly context rather than clinical fact. Fifteen smaller rolls drop the per roll numbers; twelve bigger rolls raise them, and the butter brush is always worth it.
Common Mistakes to Avoid
The classic mistake is killing the yeast with milk that is too hot or too cold; aim for warm, around 105 to 110 degrees, and proof it first so you know it is alive. The second is adding all the flour at once, which overshoots into stiff dough; cup by cup lets you stop at soft and springy.
Do not skip the second rise because the rolls already look like rolls. That thirty minute proof is what turns shaped dough into pull apart fluff, and baking unproofed rolls gives you dense little loaves with excellent intentions.
Finally, do not underbake out of fear of color. Pale rolls taste doughy; deep golden rolls taste done, and the butter brush forgives a slightly brave bake every time.
Troubleshooting Guide
If your dough did not rise, the yeast was dead or the room was cold; test fresh yeast in warm milk with a pinch of sugar, and give dough a warm spot like a turned off oven with the light on. If the dough rose but the rolls stayed dense, the kneading was short; next batch give it the full five minutes.
If your rolls browned too fast, tent foil over the pan after ten minutes so the crust stops darkening while the centers finish. If they seem pale at eighteen minutes, give them three more; ovens lie, and your eyes and nose are the better instruments.
If the bottoms are hard, your pan ran dark and hot; next bake, slide the pan onto a second sheet or drop the rack lower. Soft bottoms are the prize, and insulation is the trick nobody tells you.
Variations & Customizations
Stir a teaspoon of dried rosemary or Italian herbs into the flour for savory dinner rolls, or swap a quarter cup of the sugar for honey when you want a sweeter, softer crumb. Shredded sharp cheddar folded in at shaping turns the whole pan into a cheese bread situation that pairs dangerously well with soup.
For fancier shapes, tie the dough into knots or bake in muffin tins for tall cloverleaf rolls; the bake time drops a couple of minutes, so start checking early. A sprinkle of flaky salt over the butter brush is the smallest change with the loudest compliments.
What to Serve With It
These rolls are built for dunking, which makes them the natural partner for a rich gravy night or a saucy French dip sliders spread where the jus does double duty. They also complete a comfort dinner alongside slow cooker beef tips and gravy, and they turn any weeknight soup from starter to event.
At holidays they hold their own next to turkey and mashed everything, and the morning after, leftover rolls split and toasted under eggs are the quiet bonus nobody plans but everyone remembers.
Meal Prep & Make-Ahead Instructions
You can shape the rolls, cover the pan, and refrigerate overnight for their second rise; bake them cold the next day, adding three or four minutes. This fridge trick means fresh rolls land on your dinner table with zero afternoon prep, which is the closest baking gets to time travel.
You can also freeze the shaped rolls on a tray, bag them frozen, and let them thaw and rise in the pan for a few hours before baking as written. The dough holds happily for a month, and your rolls-on-demand system becomes the envy of every potluck.
Storage & Leftovers
Store cooled rolls in a bread bag or airtight container at room temperature for up to three days; refrigeration dries bread faster, so the counter wins. The butter brush keeps their crusts soft longer than unbrushed rolls, which is yet another argument for generosity with it.
For longer storage, freeze the rolls in a freezer bag for up to two months, squeezing out the air. They thaw at room temperature in under an hour, and a quick warm in the oven makes them taste baked that morning, because technically they will have been.
Reheating Instructions
Wrap rolls loosely in foil and warm them in a 300F oven for about ten minutes until they steam softly inside their foil cocoon. The microwave revives a single roll in ten seconds if you eat it immediately, because microwaved bread turns chewy as it cools.
A second thin brush of melted butter after reheating is the professional move; it refreshes the shine, the scent, and the entire experience for ten seconds of work. Nobody at your table will believe these were not baked an hour ago.
If you are reviving a full pan for company, add the foil and give it the full ten minutes; rushed reheating in a hot oven dries the crust before the centers warm through. Your patience is rewarded with rolls that taste fresh baked twice, and the butter brush at the end seals the deal.
Frequently Asked Questions
Can this be made ahead? Yes, two ways: shape and refrigerate overnight for a slow cold rise, or bake fully and freeze for up to two months. Either path puts warm rolls on your table in minutes, and both beat the grocery store version by a mile.
Can you use instant yeast instead of active dry? Yes, and instant yeast can go straight in with the flour, though blooming it in the warm milk first still works and gives you the visual proof that it is alive. The rise times stay the same either way.
Why did my rolls turn out dense? Dense rolls trace back to dead yeast, too much flour, or skipped rises. Proof your yeast, add flour gradually until the dough is soft, knead the full five minutes, and honor both rise times; those four habits produce tall, squishy rolls every batch.
Do you need a stand mixer? No; these rolls were kneaded by hand for generations, and eight minutes on a floured counter does the same job. The dough should end smooth and springy, and your forearms earn the first roll straight from the pan.