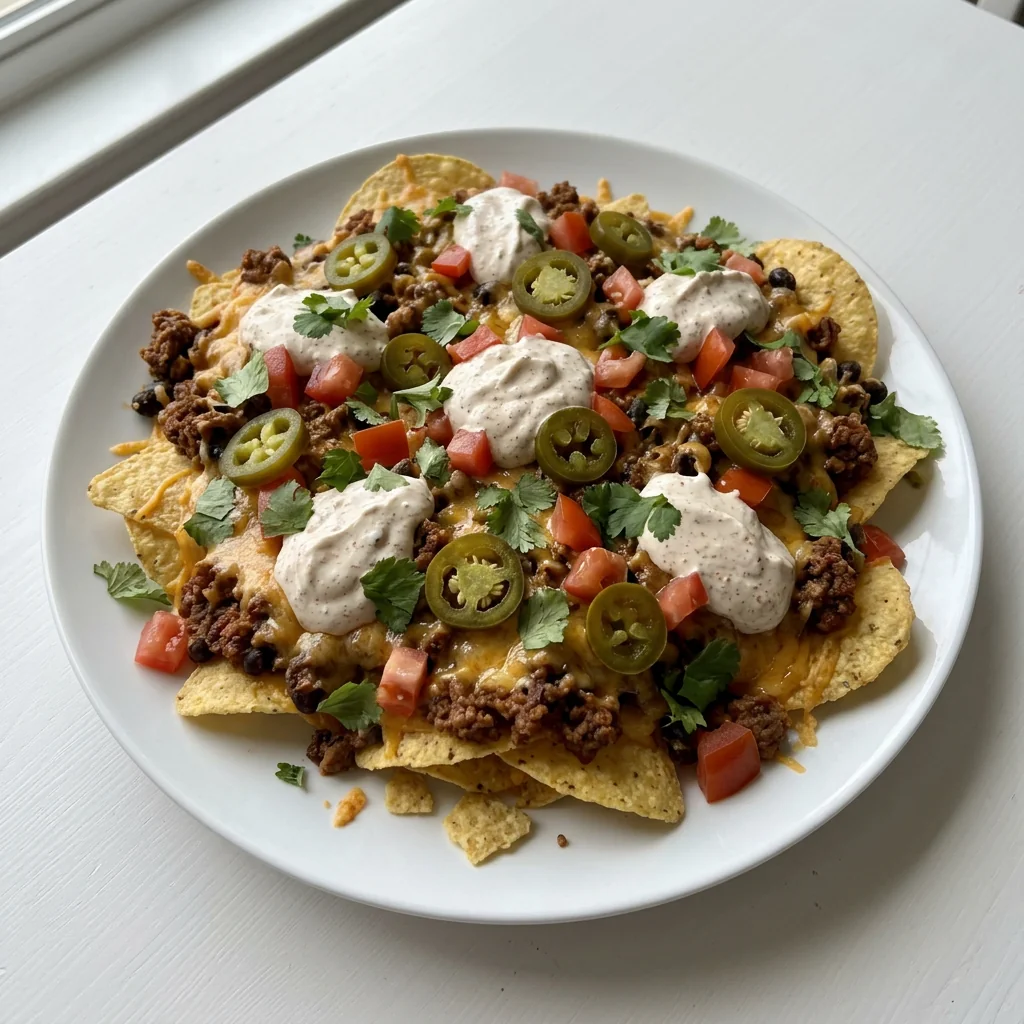
Loaded beef nachos are the dinner that makes everyone appear out of nowhere, drawn by taco beef and melting cheddar. A sheet pan of crispy tortilla chips layered with seasoned ground beef, black
beans, corn, and jalapenos, baked at 400 degrees until the cheese bubbles, then showered with salsa, sour cream, and avocado the second it lands. It is loud, generous food, and it asks for about twenty minutes of your life.
The layering order is the entire secret, and I will walk you through exactly how the restaurants do it. It is ideal for game day, family movie night, stretching ground beef on a broke week, and anyone who believes dinner should occasionally be eaten with your hands while standing up at the counter.
Recipe at a Glance
- Prep time: 10 minutes
- Cook time: about 17 minutes
- Total time: about 27 minutes
- Servings: 6
- Difficulty: Very easy
- Method: Skillet beef, sheet pan bake, cold toppings after
Ingredients You’ll Need
- 1 lb ground beef
- 1 bag tortilla chips
- 2 cups shredded cheddar cheese
- 1 can black beans, drained and rinsed
- 1 cup corn
- 1/2 cup salsa
- 1/4 cup sliced jalapenos
- 1/2 cup sour cream
- 1 avocado, diced
- 1/4 cup cilantro, chopped
- 2 tsp taco seasoning
Ingredient Notes & Easy Substitutions
Ground beef: One pound of lean beef, 85/15 or leaner, seasons up with two teaspoons of taco seasoning and becomes the hearty heart of the tray. Drain it well before the seasoning goes in; if you drain after, you rinse the flavor down the sink with the grease, and that is a small tragedy that happens in real kitchens every day.
The chips: A standard bag of sturdy restaurant style tortilla chips. Thin, delicate chips crumble under the toppings, so choose the thick, scoopy kind; they carry beef and beans like little edible plates and stay crunchy through the bake.
Cheddar: Two cups, shredded from a block if you can spare the five minutes. Bagged shreds are coated to resist clumping, which also makes them resist melting, and on nachos that resistance means patches of unmelted cheese. Block shredded cheddar melts into one glossy, pullable blanket.
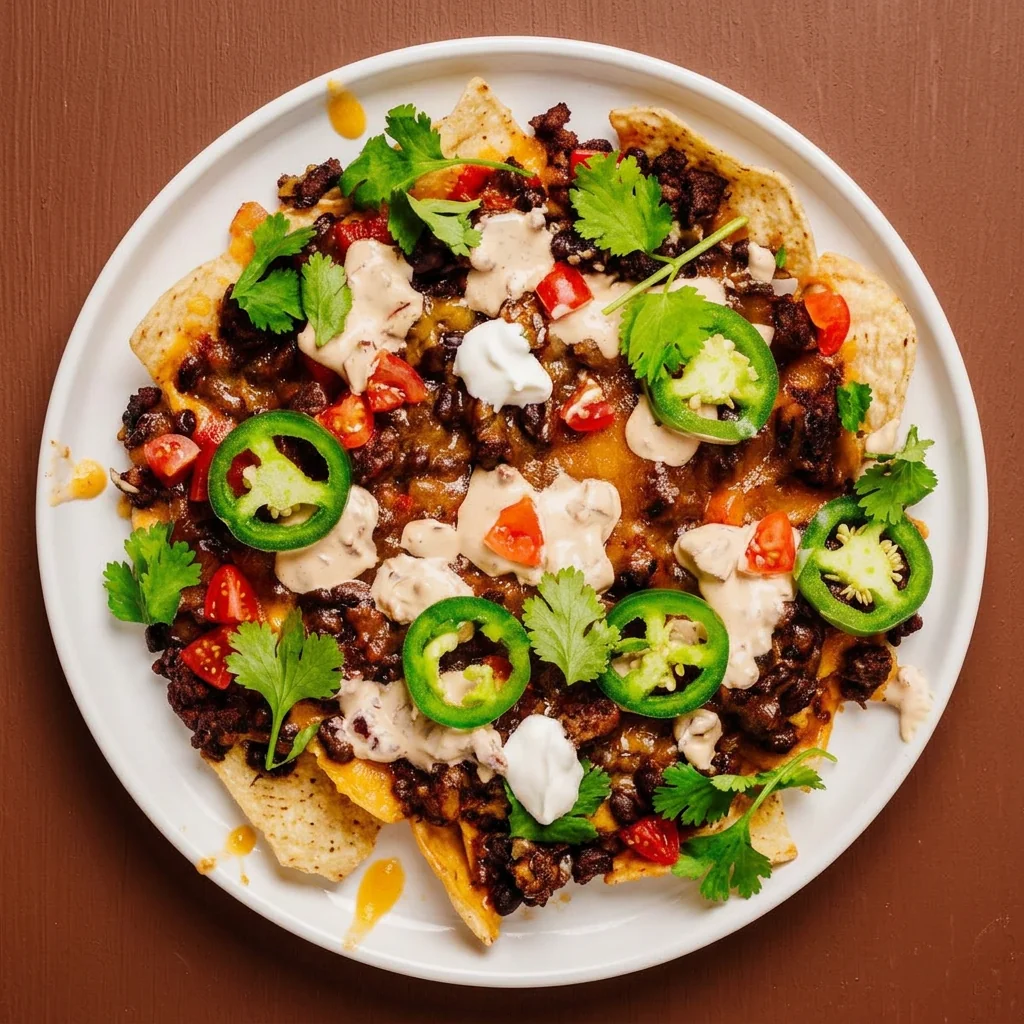
Black beans and corn: A can of black beans, rinsed and drained, plus a cup of corn, canned or frozen, no need to thaw. They stretch a pound of beef into a genuinely filling dinner and add the kind of heft that turns appetizer food into an actual meal.
The cold crew: Salsa, sour cream, diced avocado, cilantro, and sliced jalapenos. Here is the rule that matters: the fresh, cold toppings go on after the bake, never before. Oven heated sour cream is a sad puddle and baked avocado is a mistake I made once so you never have to.
Equipment You’ll Need
- Large rimmed sheet pan
- Large skillet
- Can opener and colander, for the beans
- Cheese grater, if shredding your own
- Oven mitts and a healthy sense of occasion
How to Make Loaded Beef Nachos
Season the beef, layer with a plan, bake hot and quick, and finish with the cold toppings the moment it lands. Twenty seven minutes, one pan, everyone happy. Here is exactly how.
Step One: Prep the Oven and the Pan
Preheat the oven to 400 degrees and spread the tortilla chips across a large rimmed sheet pan in an even, mostly single layer.
The even layer is the whole geometry lesson of nachos. Piles and mounds mean the buried chips steam soggy while the exposed ones toast, and you get a pan of extremes instead of a pan of perfect. Overlap is fine, gaps are not; every chip should have neighbors.
If your bag is huge and the pan looks crowded, save the extra chips for a second batch, because a second batch is a feature, not a compromise.
Step Two: Brown and Season the Beef
Brown the ground beef in a large skillet over medium high heat, breaking it into small crumbles, until no pink remains. Drain the fat well, then stir in the taco seasoning until every crumble is coated.
Drain first, season second, and say it twice so you remember. Grease pooled on the tray makes soggy chips and a greasy mouthfeel, and seasoning added before draining means half your flavor leaves with the fat.
Small crumbles also matter; big chunks roll off chips and leave bare bites behind. The seasoned beef should smell like taco night in full bloom before it ever sees the oven.
Step Three: Cheese First, Then Everything Else
Sprinkle about half of the cheddar over the chips, then scatter the seasoned beef, black beans, corn, and jalapeno slices evenly across the pan. Top with the remaining cheese.
Yes, there is cheese both under and over, and that is not greed, it is engineering. The bottom layer of cheese melts and glues the toppings to the chips so nothing avalanches off when you grab one, and the top layer melts into the gooey blanket everyone photographs.
Distribute the beef and beans corner to corner; every chip deserves toppings, and the sad bare chip at the edge of the pan is a nacho crime we do not commit here.
Step Four: Bake Until Molten
Bake at 400 degrees for 10 to 12 minutes, until the cheese is fully melted and bubbling and the chip edges have gone lightly golden.
Stay near the oven for this part, because the line between perfectly melty and overbaked is about ninety seconds long. You are watching for cheese that looks relaxed and glossy, not browned and stiff.
The high heat is doing double duty: melting cheese fast while the short bake keeps the chips from drying out. When the whole pan smells like a stadium and looks like a commercial, pull it.
Step Five: The Cold Toppings Go On Hot
The second the pan is out of the oven, dot the salsa and sour cream over the top and scatter the diced avocado and cilantro across everything.
The temperature contrast is the best bite in the whole dish: hot, cheesy, crunchy chips with cool salsa and creamy avocado on top. Dollop the sour cream with a spoon rather than drizzling; pools of it mean every grab can get some.
Step Six: Carry the Pan to the Table
Bring the whole pan out on a trivet and let everyone dig in straight from the sheet, grabbing chips while the cheese still stretches.
Nachos on a plate are just food, but nachos on a sizzling sheet pan in the middle of the table are an event. Set out napkins, stand back, and enjoy the first quiet minute of the evening, because it will be the only one.
Serving Size & Batch Scaling
One full sheet pan feeds 6 as a serious dinner or 8 as a game day spread. Scaling up is simple: one pan per four to six people, and always use separate pans rather than one crowded one, because chips stacked two deep steam instead of crisping.
For two pans at once, bake on staggered racks and swap positions halfway through; both come out evenly golden, and the second pan buys you ten minutes of peace before round two disappears.
Making More or Less?
- 2 to 3 servings: Half a bag of chips, half pound of beef, half the toppings, quarter sheet pan; the bake time drops to 8 to 10 minutes.
- 6 servings: The recipe as written.
- A crowd: Two full pans on separate racks, beef cooked in two batches; assemble both while the first bakes and the timing flows like a assembly line.
For any batch: single layer chips, drained then seasoned beef, cheese above and below, a hot quick bake, cold toppings after. Those five rules build the same perfect pan every time.
Nutrition Estimate Per Serving
The following is an estimated nutritional breakdown per serving (1 of 6), calculated from the ingredients in this recipe. It is an estimate, not medically precise information.
- Calories: ~520
- Protein: 24g
- Carbohydrates: 42g
- Fat: 28g
- Fiber: 6g
- Sugar: 3g
- Sodium: ~860mg
Useful highlight: the beans and corn add real fiber and plant protein to every serving, and the avocado brings potassium and healthy fats to a dish that otherwise reads pure party food.
Common Mistakes to Avoid
Piling chips into mountains. One even layer is the entire texture strategy. Two pans, always, instead of one overloaded one.
Seasoning before draining. Drain the beef first, then add the taco seasoning, or half the flavor exits with the grease. This ordering detail changes everything.
Baking the cold toppings. Sour cream, avocado, salsa, and cilantro go on after the oven, full stop. Baked sour cream breaks and baked avocado turns bitter; trust the person who learned this the hard way.
Walking away during the bake. Ten to twelve minutes goes fast, and cheese waits for no one. Stand at the oven door for the last few minutes like it is your job, because tonight, it is.
Troubleshooting Guide
My chips came out soggy. What happened? Either the layer was too thick, the beef carried grease onto the tray, or wet toppings went on before the bake. Next round, single layer, drained beef, cold toppings after; the pan will crunch like it should.
The cheese browned before the bake time ended. The rack sat too high or the pan is dark metal, which runs hot. Move to the middle rack next time and start checking at 8 minutes; ovens have personalities and yours is spicy.
The middle of the pan is cold. The toppings were piled in the center instead of spread corner to corner. Spread everything to the edges and the whole pan heats evenly; nachos have no good center, only equal rights for all chips.
Can I make the beef ahead? Yes; cook and season it up to 3 days ahead and reheat gently before assembling. Cold beef on chips before the bake steams instead of crisping, so a quick skillet warm up is worth the two minutes.
Variations & Customizations
Chicken version: Shredded rotisserie chicken tossed with the same taco seasoning makes a lighter tray that comes together even faster.
Nacho extreme: Add pickled red onions, sliced olives, and a drizzle of queso after the bake; the pan becomes a full contact sport.
Breakfast nachos: Same build, but top the baked pan with scrambled eggs and salsa; weekend brunch solved in fifteen minutes, and yes, it counts as making breakfast.
Taco night neighbors: My loaded potato taco bowl runs the same taco flavors in bowl form, and my street corn chicken rice bowl keeps the Mexican inspired rotation rolling all week.
The drain first, cheese above and below, 400 degree method here follows the Ground Beef Nachos at Easy Family Recipes, and the layered, meat before cheese build at Grits and Pinecones backs the same sheet pan bake used above.
What to Serve With It
The pan is the meal: Beef, beans, dairy, and vegetables on chips; nutritionally speaking, this is a taco that decided to be fun.
Sides for a feast: Mexican rice, refried beans, or a simple lime dressed cabbage slaw if the table wants reinforcements.
Drinks: Limeade, agua fresca, or cold beer; nachos have strong opinions and they are all citrus and bubbles.
Game day plan: Prep all the toppings into bowls before kickoff, bake at halftime, and set the pan down in the middle of the room like the trophy it is.
Meal Prep & Make-Ahead Instructions
Can this be made ahead? The components, yes: the seasoned beef keeps 3 days refrigerated, and shredding cheese, dicing avocado, and chopping cilantro can all happen ahead, with the avocado tossed in lime juice to hold its color. Assembly and bake take under fifteen minutes when the prep is done.
I do not recommend assembling the full tray ahead; assembled nachos waiting around drink moisture from the toppings and lose their crunch. Build right before the bake and every chip stays proud.
Storage & Leftovers
Honest truth: Nachos are a right now food, and leftovers soften by the hour. Refrigerate anything uneaten in an airtight container for up to 2 days and treat round two as a new dish rather than a resurrection.
Leftover ideas: Chop the leftovers roughly and crisp them in a skillet into overloaded nacho hash, or pile them into a quesadilla with extra cheese, where the softened chips melt into the filling and become a feature.
Reheating Instructions
Oven (best method): Spread leftovers on a fresh pan and bake at 400 degrees for about 5 minutes; the chips re crisp better than you would expect.
Skillet: A hot dry pan with the nachos pressed down crisps the bottoms and re melts the cheese in about 4 minutes.
Microwave: Thirty seconds, covered, and accept soft chips with melty cheese; it is a different dessert of the same song, still worth eating.
Frequently Asked Questions
Meat or cheese first on nachos? Meat first, then cheese, so the melting cheese blankets the toppings and holds them to the chips. I also like a thin layer of cheese directly on the chips before the meat, which acts like edible glue and guarantees cheese in every bite.
How do restaurants keep nachos crispy? Single layers, sturdy chips, dry toppings, and short, hot bakes. Every trick in this recipe exists to protect chip crunch, and now you know the whole secret menu.
Can I make nachos without an oven? Yes; a broiler on medium for 3 to 4 minutes does the same job even faster, or a large covered skillet on low melts the cheese in about 6 minutes with slightly softer chips.
What are the best toppings beyond these? Pickled jalapenos instead of fresh, sliced black olives, diced red onion, and a crumble of queso fresco all belong on the shortlist. The rule is simple: bold, salty, and crunchy things on before the bake; fresh, creamy, and cold things after.
And that is the whole pan: crunchy chips, smoky seasoned beef, beans and corn tucked under a bubbling cheddar blanket, and the cold crew piled on top at the last second. It is dinner that doubles as a party, and cleanup is one sheet pan. Make it this week, eat it straight off the tray with people you like, and thank me at halftime.